

Introduction
The process of laying flexible or unbound block paving is a popular method for creating driveways, patios, and paths in Britain and Ireland. It involves laying paving blocks on a loose bed of sand or grit and jointing them with dry sand. This detailed guide will explore the various steps in this construction method, ensuring that your paving project succeeds.
Preparation
Before embarking on a block paving project, proper preparation is essential. Here are the key steps:
Setting Out: Begin by marking where you intend to lay the paving. You can use sand guidelines if needed. Ensuring that the paving will be level with the existing ground is crucial. Consider digging a slightly wider area to make handling the materials more accessible.
Sub-grade: Dig down to a depth of approximately 200mm. You can calculate this depth by adding the average depth of the pavers to 40mm for bedding and 100mm for the sub-base. Remove any weeds and organic matter from the excavated area. If you encounter soft spots, replace them with compacted sub-base material. Consider treating the excavated subgrade with a weedkiller if necessary.
Use of Geo-textile: In cases where the subgrade is problematic, such as containing clay or invasive weeds, consider laying a geo-textile fabric over it. This fabric acts as a root barrier and helps prevent the overlying sub-base material from sinking into the soft subgrade. However, it’s important to note that geo-textiles are not a substitute for a proper sub-base.
Curbs: If your project requires curbing, this is the ideal time to construct it. You can use various curbs, including road curbs, plain or decorative edgings, small unit curbs, or setts laid lengthways. Ensure that the curbs are laid on a concrete bed to prevent them from shifting. Properly constructed curbs will help restrain the body of the paving and prevent it from moving.
Sub-base: The sub-base is critical to any block paving project and should always be included. It serves as the load-bearing layer of the pavement. You must ensure that the sub-base is at least 100mm thick. In exceptional circumstances, such as for paths or patios on solid ground, it may be reduced to 75mm. Remember that the finished paving will need a fall (slope) of no less than 1:80 to facilitate proper surface water drainage.
Edge Courses: After completing the sub-base, it’s time to construct the edging courses of the paving. These edge courses should be laid before the bedding layer and the blocks or bricks. The edging courses help frame the body of the paving and must be strong enough to withstand the lateral forces generated by traffic. Lay them on a concrete bed and haunch them to prevent lateral movement.
Bedding Layer
The bedding layer, often called the “laying course,” is where the paving blocks or bricks will be placed. Follow these guidelines:
Bedding Material: Use coarse, grit sand 25-40mm thick for the bedding layer. Do not add cement or any binding agent to the laying course. The bedding layer must remain unbound and flexible, as this is essential for flexible block paving. Using suitable sand is crucial; avoid building sand, play sand, or soft sand, as they can become unstable when saturated, leading to settlement.
Consistent Thickness: Ensure that the bedding layer has a constant thickness. The desired fall (slope) for proper drainage should be established at this stage, considering the sub-base surface levels.
Screeding: Prepare a pre-compacted and screeded bedding layer before laying the blocks or bricks. Screeding is a crucial skill for applying various types of segmental or elemental paving, such as block pavers.
Paving Layer
Now, it’s time to lay the paving bricks or blocks. Follow these steps:
Pattern Selection: The choice of pattern for your paving is essential. If you use more than one pack of blocks, mix the pavers from three or four groups simultaneously to ensure an even distribution of colors and patterns. This is particularly crucial for multi-colored blocks.
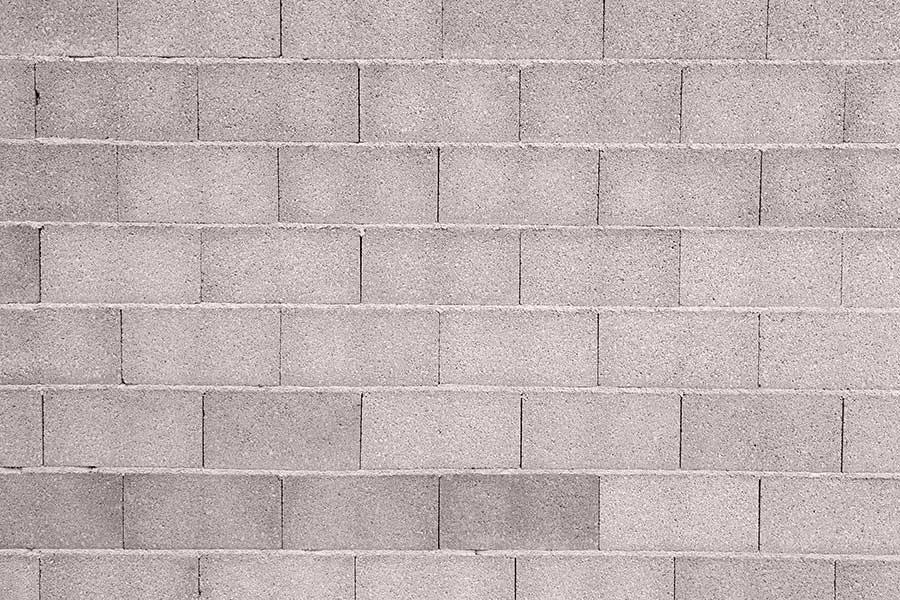
Pattern Types: A fully interlocked ‘Herringbone’ pattern is recommended for areas trafficked by vehicles. For foot-traffic areas like paths and patios, other designs can be suitable.
Edge Courses: The perimeter edge courses of the paving should have been laid after the sub-base and should be set solidly on their concrete bed and haunching. These edge courses provide structural support and prevent lateral movement.
Alignment and Level Accuracy
Ensuring alignment and level of accuracy is crucial for a successful installation. Follow these steps:
Alignment Check: Check alignment after laying one meter of paving or ten courses. Verify that the joints are straight and true. Use a string line to check alignment from multiple directions.
Level Accuracy: Confirm that the surface is level and complies with the specified standards. A flat and even pavement is essential for both aesthetics and functionality.
Block Quality: Check the quality of the blocks. Replace any blocks that have broken or become damaged during the compaction process.
Cutting-In
Blocks may need to be cut to fit edges and other areas. Proper cutting is essential for a neat and professional finish. Use a block splitter or a cut-off saw for this purpose.
Compaction
A critical step in the block paving process is compaction. The process entails compacting the blocks into the laying course using a vibrating plate compactor.
Surface Cleaning: Before operating the plate compactor, make sure the pavement’s surface is free of any trash, rubble, or loose items. To produce successful compaction, proper surface preparation is necessary.
Compaction Strategy: Make at least two passes over each part of the pavement with the vibrating plate compactor. Ideally, make these passes in different directions. Compaction helps ensure that the blocks are firmly settled into the laying course.
Compliance Checks: After compaction, conduct another round of compliance checks. Remove any blocks that have broken or become misaligned during the compaction process.
Vibration Safety: Be aware that prolonged exposure to vibration from plate compactors can be harmful. Wear appropriate personal protective equipment (PPE), including ear defenders, and follow safety guidelines for vibration exposure.
Jointing
Proper jointing is crucial for block paving. Follow these steps:
Joint Width: Ensure the joints between adjacent blocks are no greater than 5mm. Tight joints help prevent weed growth and maintain the pavement’s structural integrity.
Jointing Sand: Use selected jointing sand without cement or binding agents. Jointing sand should be sharp, clean, and free from fine particles. Kiln-dried sand is commonly used for this purpose.
Joint Filling: Brush the jointing sand over the surface, allowing it to fill the joints between the blocks. Ensuring that the joints are adequately filled without any gaps is essential.
Compaction of Jointing Sand: Compact the joints with sand using the vibrating plate compactor. This step helps settle the jointing sand into the gaps between the blocks, providing stability and minimizing sand loss over time.
Joint Inspection: After compacting the jointing sand, inspect the pavement for any empty or low joints. Top up these joints with additional jointing sand as needed.
Excess Sand Removal: Once the joints are adequately filled, sweep off any excess jointing sand from the pavement’s surface. This will help achieve a clean and finished appearance.
Conclusion
By following the thorough advice above, you may effectively lay flexible block paving for your driveway, patio, or walkway. A lasting, valued, and attractive paved surface can only be produced via careful planning, meticulous attention to detail, & commitment to the best principles at every stage of the process. These suggestions will help you make a finished result that will last the test of time, regardless of whether you are an expert DIY enthusiast or an expert in professional installation. Before starting any paving job, keep in mind to prioritize safety, wear the proper protective equipment, and check local construction standards and regulations.
FAQS
What is a brick paver?
A brick paver is a rectangular or square-shaped brick made from clay or concrete, typically used in landscaping and construction for outdoor projects like patios, walkways, driveways, and other hardscape features. They come in various colors, sizes, and patterns, allowing for versatile and visually appealing outdoor designs.
How do you measure paver size?
Measuring paver size is straightforward. You can use a tape measure or ruler to measure the length, width, and thickness of the paver. Be sure to measure from the longest and widest points to get accurate dimensions.
Is a paver the same as a brick?
While they may look similar, there are distinctions. Bricks are solid and commonly used for building walls, providing structural support. On the other hand, pavers are usually thinner and designed for flat surface applications like driveways and walkways. They come in various shapes, sizes, and materials, offering more versatility for landscaping and design purposes, whereas bricks are mainly employed in structural construction.