

Mastering the Art of Driveway Paver Installation: A Comprehensive 13-Step Guide
Embarking on installing a paver driveway is a significant undertaking, demanding meticulous planning and execution. Understanding the nuances of each step is crucial for a durable and visually appealing driveway. This detailed guide will delve into the 13 essential steps for a successful driveway paver installation project.
Step One:
Material Selection Choosing the suitable material is the foundation of a lasting driveway—factors such as climate influence this decision. Cold climates favor poured concrete, concrete pavers, or asphalt, while warmer regions can opt for natural stone or pavers. Each material has its unique benefits, ensuring suitability for various environments.
Step Two:
Designing Your Dream Driveway Designing your driveway layout is creative. Careful consideration of starting and ending points, width, and the ideal pavers’ layout is paramount. You are utilizing tools like paver software aids in visualizing the form, ensuring a cohesive and aesthetically pleasing design.
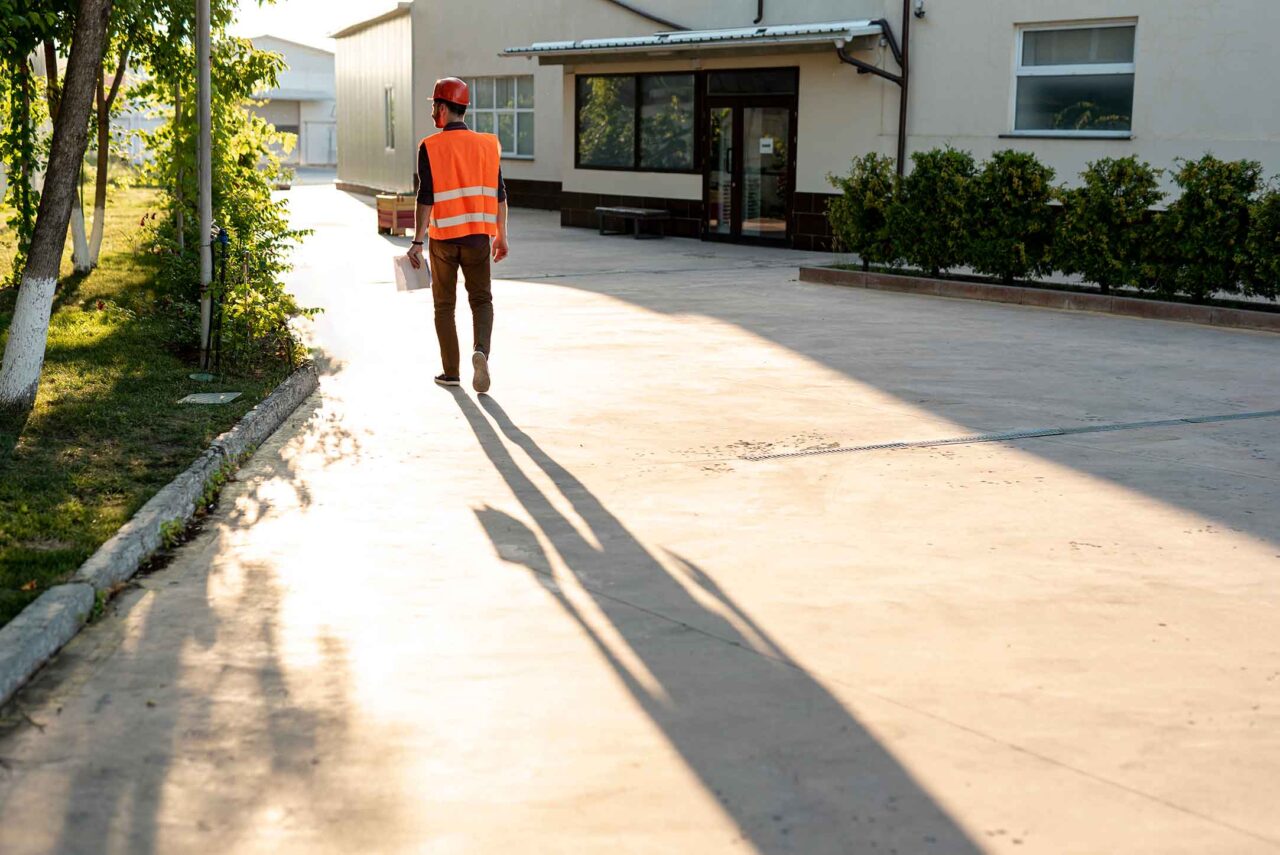
Step Three:
Area Preparation Preparing the installation site is a meticulous task. Clearing the grass vegetation area and checking for underground utilities is essential. Collaborating with utility companies for proper clearance guarantees a hassle-free installation process.
Step Four:
Marking and Layout Accurate marking of each paver’s placement is the key to a seamless installation. Using marking tools like spray paint ensures precision, paving the way for a flawless layout.
Step Five:
Digging and Foundation Preparation Digging to the appropriate depth, typically around 12 inches, prepares the foundation. Removing rocks and ensuring a smooth, level surface is vital. Eliminating gravel fragments prevents future damage to the pavers, providing a stable foundation.
Step Six:
Laying the Foundation/Sub-Base Creating a solid foundation is the backbone of a durable driveway. The evenness of the base is pivotal, providing stability for the pavers that will rest upon it.
Step Seven:
Implementing a Drainage Layer Effective drainage prevents water accumulation, especially in rain-prone areas. Gravel or sand layers, at least 4 inches deep, facilitate drainage. Proper drainage safeguards the driveway against potential water-related issues, ensuring longevity.
Step Eight:
Paver Installation With the foundation prepared, laying out individual pavers begins. Ensuring level placement and even spacing guarantees a visually pleasing and stable surface. I am using a mallet aids in securing the pavers in place.
Step Nine:
Filling Holes and Gaps Filling gaps between pavers enhances stability. Appropriate joint sand or gravel ensures a seamless surface, preventing shifts and maintaining structural integrity.
Step Ten:
Adding Joint Filler Applying a suitable filler material between pavers ensures uniformity. ASTM C144 sand, gravel, or polymeric sand creates consistent spacing, enhancing the driveway’s overall appearance.
Step Eleven:
Precision Edging Precise edging is essential for a polished finish. Utilizing sharp tools such as power saws ensures smooth edges, eliminating jagged protrusions and potential hazards.
Step Twelve:
Thorough Cleaning Post-installation, meticulous cleaning is imperative. Sweeping away debris and utilizing brushes guarantee a pristine surface. A clean driveway enhances the overall aesthetics, showcasing the craftsmanship.
Step Thirteen:
Sealant Application To safeguard your investment, applying a driveway paver sealer is essential. This final step prevents fading, ensuring the driveway maintains its allure over time. Regular checks for efflorescence, followed by appropriate treatment, contribute to the driveway’s longevity.
Conclusion:
Mastering driveway paver installation requires attention to detail, expertise, and dedication. Each step, from material selection to meticulous finishing, plays a pivotal role in creating a driveway that not only stands the test of time but also elevates your property’s curb appeal. With this comprehensive guide, you’re equipped with the knowledge to transform your driveway into a lasting masterpiece.
FAQs
Q1: How long does the installation of a paver driveway typically take?
A1: The duration of a paver driveway installation depends on various factors, including the size of the area, chosen materials, and weather conditions. On average, a standard driveway installation may take one to three weeks.
Q2: Can I install pavers for my driveway on my own, or is professional help necessary?
A2: While DIY paver installations are possible, they require significant expertise, tools, and time. Professional service ensures proper excavation, foundation preparation, and precise laying, guaranteeing a durable and visually appealing driveway. Hiring certified experts minimizes the risk of future issues.
Q3: How do I maintain my paver driveway to ensure its longevity?
A3: Regular maintenance is vital for preserving the integrity of your paver driveway. This includes periodic cleaning to prevent dirt buildup, weed removal from joints, and joint sand or filler reapplication as needed. Additionally, applying a quality sealant every few years protects the pavers from fading and enhances their lifespan.
Q4: What sets paver driveways apart from traditional driveway materials like concrete or asphalt?
A4: Paver driveways offer unparalleled versatility, durability, and aesthetic appeal. Pavers allow for intricate designs, personalized patterns, and various color choices, unlike concrete or asphalt. Additionally, pavers are resistant to cracks and can be easily repaired by replacing individual units, ensuring long-term cost-effectiveness and visual allure.